Installation
This page provides instructions for installing the project environment and running the notebooks locally on your machine (or on a remote server that you have access to). We also offer a cloud-based environment on D4SCIENCE where you can run the notebooks without any local installation. Please check our D4SCIENCE guide for more details on the D4SCIENCE environment and how to access it.
This project uses Pixi to manage dependencies. Install Pixi first, then install the project environment.
Install Pixi
Linux & macOS
curl -fsSL https://pixi.sh/install.sh | shOr with wget if curl is unavailable:
wget -qO- https://pixi.sh/install.sh | shWindows
powershell -ExecutionPolicy Bypass -c "irm -useb https://pixi.sh/install.ps1 | iex"Alternatively, use a package manager:
winget install prefix-dev.pixi
# or
scoop install main/pixi
macOS (Homebrew)
brew install pixiThe installer places the pixi binary in ~/.pixi/bin (Linux/macOS) or %UserProfile%\.pixi\bin (Windows) and updates your PATH automatically. Restart your shell afterwards.
Install the project environment
Clone the repository and install:
git clone https://github.com/Deltares-research/iriscc.git
cd iriscc
pixi install
Pixi resolves the environment from pyproject.toml and pixi.lock for a fully reproducible setup.
Register the Jupyter kernel
To make the Pixi environment available as a kernel in JupyterLab, register it once after installation:
pixi run python -m ipykernel install --user --name iriscc --display-name "Python (iriscc)"After refreshing JupyterLab, Python (iriscc) will appear in the kernel selector. Select it when opening any of the notebooks to ensure all packages are available.
Running a notebook
Start a notebook directly using Pixi, for example:
pixi run jupyter notebook FIAT/solara/IRISCC_solara_widget_FIAT.ipynbThis will launch Jupyter Notebook with the FIAT widget notebook and opens it in your default web browser. Next, run the notebook cells and scroll down to the FIAT widget. You can select the model name, path, domain, continent and country to run a flood risk assessment. Your screen should look similar to the image below.
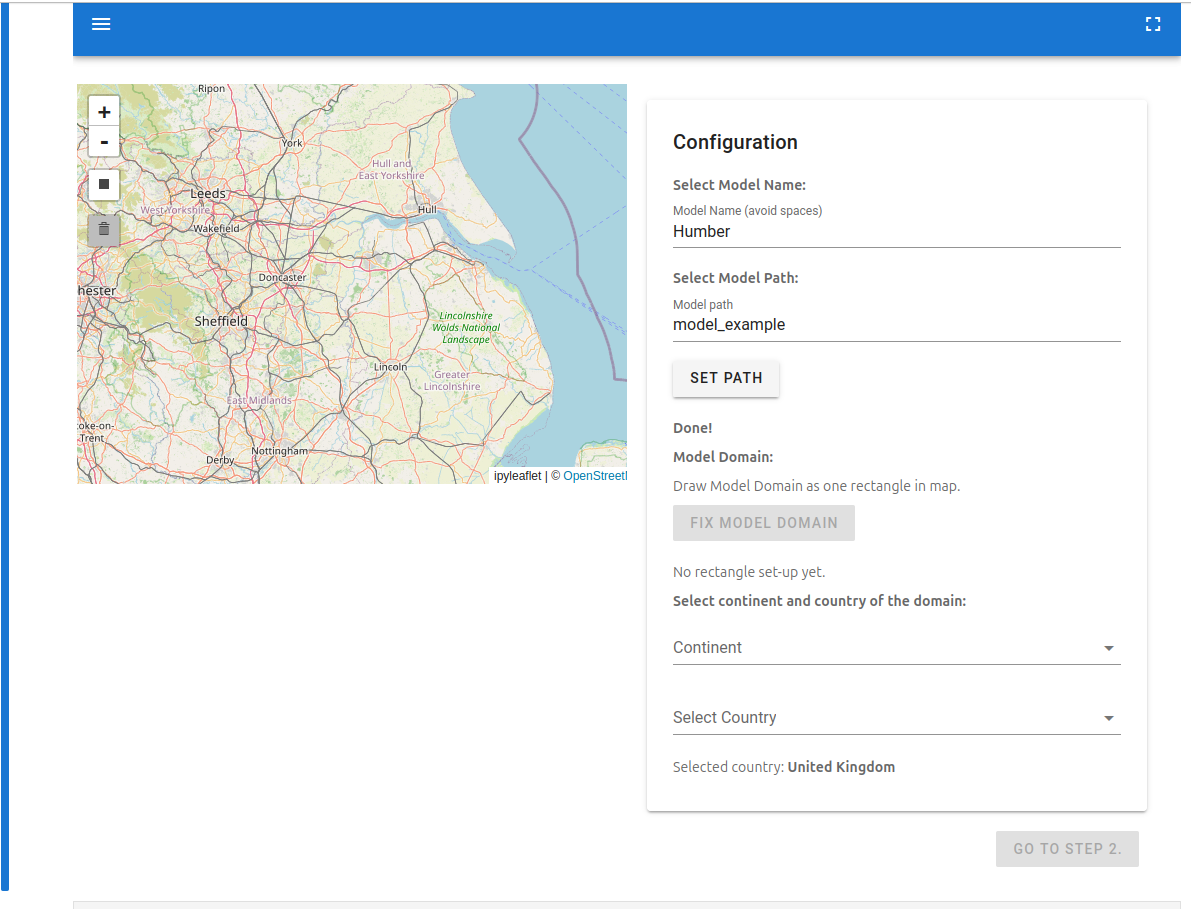
You have now successfully installed the project environment and run a notebook. To learn more about the available notebooks and how to use them, please check the Quickstart guide.
Using vscode
To use vscode in combination with the pixi environment created above, you can start vscode as:
pixi run code .In this way vscode will inherit the environment variables to find the kernel. You can now select the kernel named “Python (iriscc)” in the notbook.