Delft-FIAT model-builder
The Delft-FIAT model builder was designed to make it easy for analysts to set up a Delft-FIAT model. The model-builder can be used to automatically generate a Delft-FIAT model or to create a tailored model using local data. In both cases, the user starts by selecting their working directory and choosing their area of interest (model boundary). They can then use the quick-build option to automatically generate a Delft-FIAT model, or they can use additional functionality to build a tailored Delft-FIAT model. Because the quick-build option does not require modeling experience, the model-builder makes the generation of Delft-FIAT models accessible to a wide audience.
This guide is organized in six sections:
- Get started when you open the Model Builder
- Selecting your area of interest (your “model boundary”).
- Building a Delft-FIAT model with the quick-build option (automatic model generation with open data).
- Building a tailored Delft-FIAT model using local data or different settings than the default options.
- Visualizing the model you’ve created
- Understanding the Delft-FIAT model folder that is generated
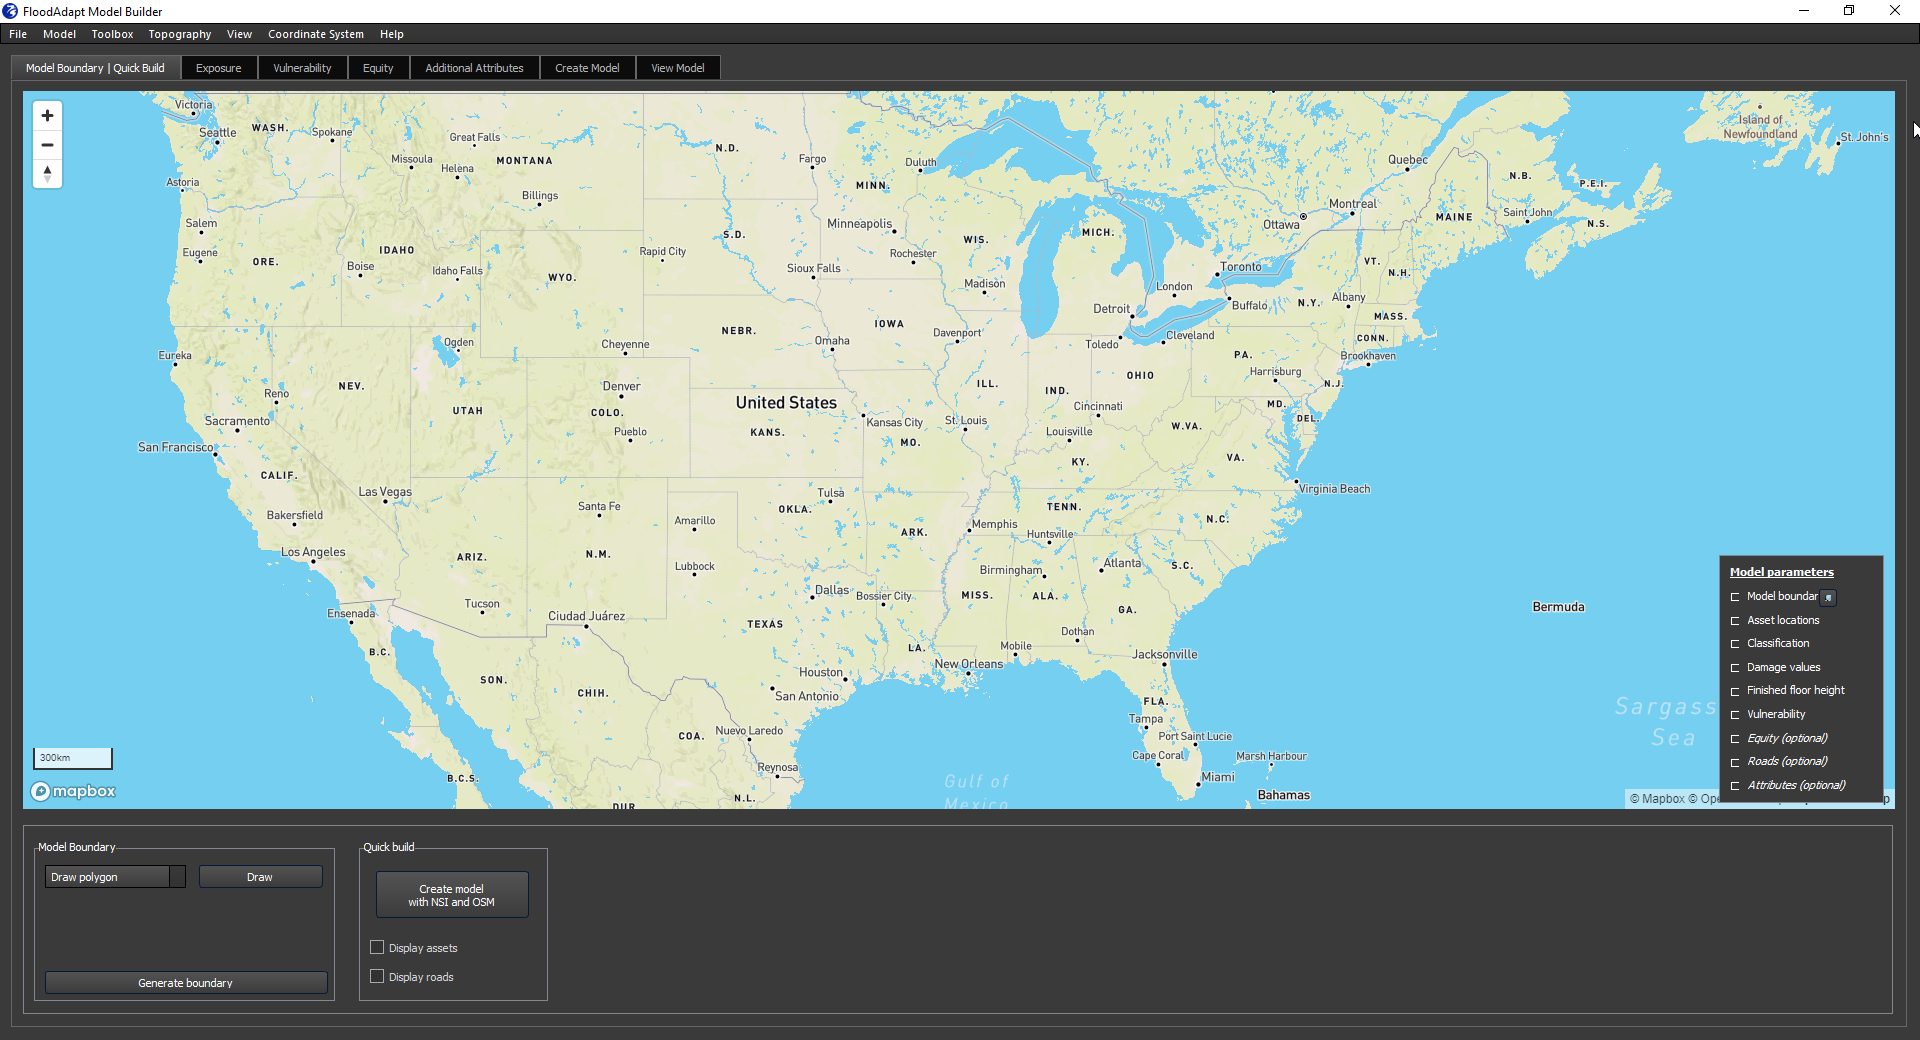
Figure 1 shows the Delft-FIAT model builder. There are seven tabs shown at the top. For generating an automatic Delft-FIAT model using open data, you will only need to use the first of these tabs, the “Model Boundary | Quick Build” tab. The remaining tabs are for tailoring your Delft-FIAT model and are described in the tailored Delft-FIAT model section.
Getting started
The initial steps to set up a Delft-FIAT model are the same whether you set up a quickbuild or tailored model. To get started building your Delft-FIAT model:
- Open the Model Builder application; this contains functionality to build a SFINCS and a Delft-FIAT model
- Click “Model” in the top menu bar and choose “FIAT”
- Click “File” in the top menu bar and choose “Select Working Directory”
- Select an existing folder or create a new one
Model boundary
The Delft-FIAT model boundary encapsulates the area of interest where you want to calculate flood damages. To specify your model boundary, go to the Model Boundary | Quickbuild tab. In the “Model Boundary” box, you will select how you would like to specify your model boundary. There are four options:
- Draw polygon: Click on the map and draw a polygon. Double click when finished.
- Draw box: Click on the map and draw a box. Double click when finished.
- SFINCS model domain: If you already created a SFINCS model you can select the folder where your SFINCS model is saved. Do not select the region file itself. It will be recognized automatically when you select your SFINCS folder.
- Upload file: You can upload a boundary using a geospatial file (e.g. .gpkg, .geojson).
When you are finished, click “Generate Boundary”, and your model area will be created.
When setting up FloodAdapt in a project area, you will also have to set up a SFINCS model for the flood estimation. You may want to have your damage model active everywhere where there will be flood information. If that is the case, choose the “SFINCS model domain”.
Sometimes the flood model extent is actually much larger than your area of interest (this is because water from outside your area of interest may still make its way to your area of interest). In this case, you can choose based on the following considerations:
- To look at damages for an adminstative area like a city or a county, the best option would be to upload the city or county boundary shapefile using the “Upload file” option
- To quickly get started if you don’t have a city or county shapefile on hand, you can draw a polygon or box in the map around the area you are interested in.
Quick Build
The Quick Build option allows users to set up a Delft-FIAT model anywhere with ease; it doesn’t require any user input except for defining the model boundary. The quick build option sets up the exposure data for buildings and roads, and assigns the corresponding vulnerability curve to each asset. The model-builder also downloads equity data (income and population) for the equity-weighting functionality in FloodAdapt.
To use the quick build option to generate a Delft-FIAT model, simply click the “Create model” button on the “Model Boundary | Quick Build” tab after generating your model boundary. That’s it!
The Quick Build option uses open data from several sources.
For the United States, the data sources are:
- Exposure: National Structure Inventory (NSI)
- Vulnerability curves: FEMA HAZUS 4.0 SQL database, obtained through FEMA FAST repository
- Socio-economic/equity data: US census data
- Roads: Open Street Map (OSM)
Outside the United States, the data sources are (note: no socio-economic data are downloaded by default outside of the U.S>)
- Exposure: Open Street Maps (OSM)
- Vulnerability curves: Joint Research Centre
- Roads: Open Street Map (OSM)
Tailored Delft-FIAT model
Using local data can help improve the accuracy of damage estimates and utility of infometrics. The Delft-FIAT model builder enables you to create a base model and then refine the model using available local data.
When creating a tailored Delft-FIAT model, there are three mandatory steps. These are:
In addition to these mandatory steps, there are many options to refine data sources and default options. When creating a tailored Delft-FIAT model, you always start by building a base exposure dataset using open data, which can then be refined. The Delft-FIAT model tabs (see Figure 1) — Exposure, Vulnerability, Equity, and Additional Attributes — enable specific refinements, which are highlighted in the list below and detailed in the following sections.
- Step 1: Set up a base exposure dataset
- Exposure updates
- Vulnerability
- Equity
- Add income and population data for equity-weighting in FloodAdapt
- Additional Attributes
- Add flexible attributes that are important for deriving metrics or visualizing in FloodAdapt
Create a base exposure dataset
Similar to the Quick Build option, the base exposure dataset is generated using open data. When your model is within the United States, National Structure Inventory data is used to generate the base exposure dataset for buildings, and open street map (OSM) is used to generate the data for roads. When your model is outside of the United States, OSM is used to generate the base exposure dataset for both buildings and roads.
To set up the base exposure dataset:
- Generate your model boundary.
- Open the “Exposure” tab from the top panel. From the bottom panel select the “Asset Location” tab.
- Select the correct data source for your model.
- For a U.S. based model choose “Start with National Structure Inventory (NSI)”
- For a model outside of the U.S. choose “Start with Open Street Map (OSM)”
- Include road data by checking the checkbox “Include OSM roads”.
- Click the button “Add to model”.
When choosing to start with open street map, the model-builder asks the user to specify a damage unit and a finished floor height.
- Damage unit (currency): Do not change the default currency from Euro to another currency. There is no currency converter tool implemented in the Delft-FIAT model builder yet.
- Finished floor height: OSM exposure data does not include this attribute. The user can select a single value that will be applied to all buildings. They can refine this later using spatial data.
Updating exposure data
The Delft-FIAT model builder allows you to update the following exposure data, covered in the following sections. Click on any of the options to jump to that section:
Updating finished floor heights
Finished floor heights refer to the height of the ground floor of a building above ground level. Damage estimates are sensitive to this attribute, and open data is either not available (in the case of OSM) or is not entirely reliable (in the case of NSI). When local data exists on building elevations, these can be incorporated in the Delft-FIAT model using the Delft-FIAT model-builder. The finished floor height data must be point or polygon data (e.g. .gpkg, .geojson).
To refine the finished floor heights using the Delft-FIAT model-builder:
- Open the Exposure tab from the top panel and select the Finished Floor Height tab in the bottom panel.
- Click the button “Select Source” and choose the point or polygon file with your finished floor height data.
- Click the “Load” button. This will load the data field names in your file into the “Attribute ID” drop-down menu.
- In the “Attribute ID” drop-down menu, select the field name that corresponds to your finished floor height data.
- Click “Add to model”.
In the “Finished Floor Height” tab there is a “Settings” button. This allows you to change default choices related to the spatial join of the exposure data points and the uploaded finished floor height data. Default settings use the nearest method for points and the intersection method for polygons when doing the spatial join. The default maximum distance for the nearest method is 10 meters.
Updating ground elevation
To update ground elevation data, you must provide a digital elsevation model (DEM) raster file. The Delft-FIAT model builder calculates the mean elevation within the shape of each asset and assigns this value to the associated asset.
If you will use the FloodAdapt database builder to create your FloodAdapt database, it will automatically overwrite the ground elevation data in your Delft-FIAT model to match what is in your SFINCS model, so you do not need to do that manually here!
To update the ground elevation values in your Delft-FIAT model:
- Open the Exposure tab on the top panel and select the Ground Elevation tab in the bottom panel.
- Select a ground elevation source. There are two options in the drop-down menu:
- SFINCS Ground Elevation
- If you have already a SFINCS model set up, select the folder that contains your SFINCS model. The Delft-FIAT model builder knows the location of the DEM file within this folder.
- Upload file
- Select a DEM raster file
- Select the elevation unit for your DEM (meters or feet).
- SFINCS Ground Elevation
- Click “Add to model”.
Updating maximum potential damages
When local data is available on maximum potential values, either for content or structure, these can be incorporated in the Delft-FIAT model using the Delft-FIAT model-builder. The maximum potential damages you want to use must be point or polygon data. Point data would be for asset-level information, and polygon data would be for cases where you want to assign the same values to a larger area. It is necessary to distinguish between structure and content maximum potential damages, as these are treated separately in the damage calculation.
To update the maximum potential damages:
- Open the Exposure tab on the top panel and select the Max Potential Damages tab in the bottom panel.
- Click “Select source” and select the file containing your maximum potential damage data (point or polygon data)
- Click “Load”. This will load the data columns in your file into the “Attribute ID” drop-down menu.
- Select the column that holds the max. potential damage data.
- Select the damage type you wish to update, either “structure” or “content”.
- Add to model.
In the “Max Potential Damages” tab there is a “Settings” button. This allows you to change default choices related to the spatial join of the exposure data points and the uploaded finished floor height data. Default settings use the nearest method for points and the intersection method for polygons when doing the spatial join. The default maximum distance for the nearest method is 10 meters.
Vulnerability curves
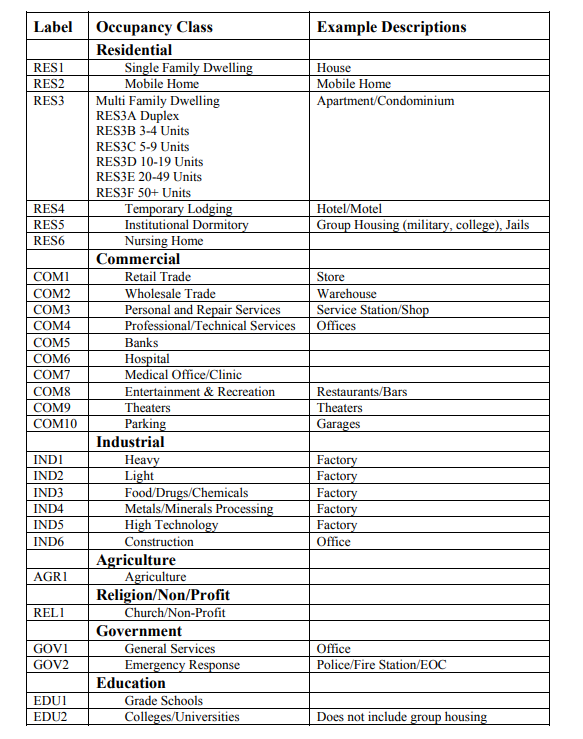
Delft-FIAT uses vulnerability curves (also known as depth-damage curves) to relate inundation depths to a fraction of total damage. Each building type can have a different depth-damage curve. Delft-FIAT accepts any user-selected or defined depth-damage curve. To make it easy for users to quickly set up a Delft-FIAT model, there is a default damage curve assignment in the Delft-FIAT model-builder. Figure 2 shows the selection of default depth-damage curves (for structure damage) for buildings in the United States. This selection can be changed by the user. To assign the default damage curves, you only need to do the following two steps:
- Open the Vulnerability tab on the top panel. The default damage curves are already selected.
- Click “Add to model”
Updating vulnerability curves
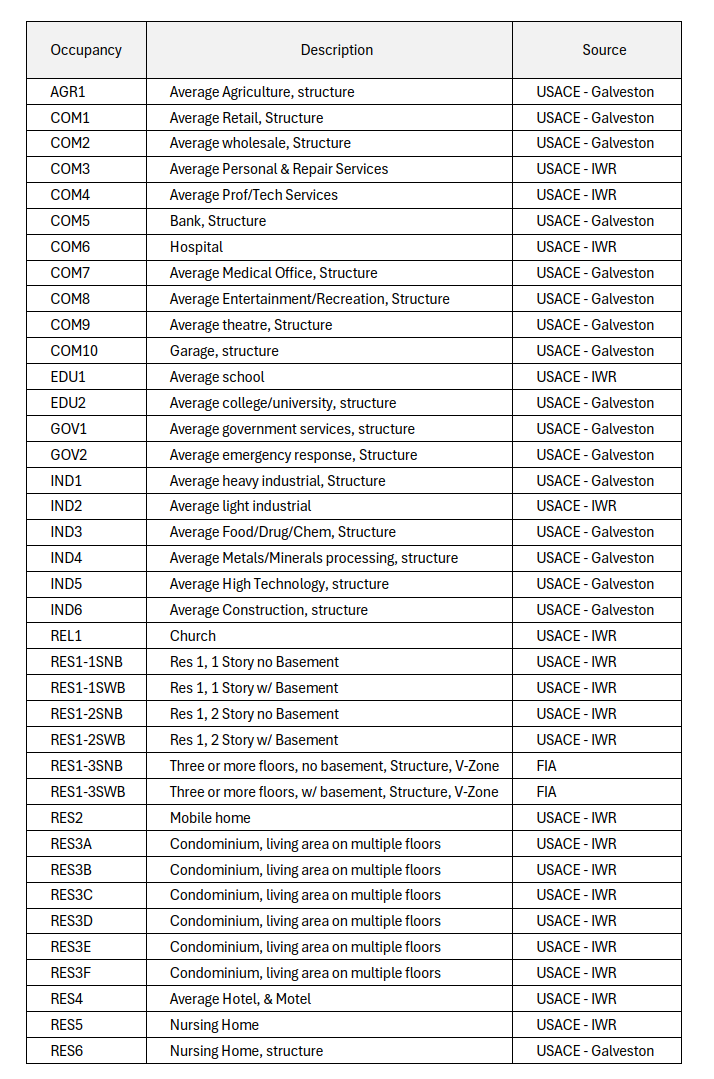
If you are building your model in the U.S., you can change the damage curve assignment. Updating damage curves is currently only possible in the U.S. The functionality is facilitated by the alignment between HAZUS damage curves and the secondary object types in the National Structure Inventory (see secondary object types in Figure 3). Users can only choose new damage curve assignments from existing damage curves within the HAZUS damage curve database. User-defined damage curves are currently not possible from within the Delft-FIAT model builder. Future releases of the Delft-FIAT model builder may offer more flexibility.
How to change the damage curve assignment (U.S. only):
- Open the Vulnerability tab on the top panel
- Click “Specify different damage curves”. A pop-up window appears. In the pop-up window:
- Select from the left panel the secondary object type for which you want to change the damage curve
- Select a damage curve from the upper right panel (source is HAZUS database); the damage curve will be plotted in the lower right panel
- Click “Select Source” underneath the upper right panel to assign the selected damage curve.
- Continue the above procedure for all secondary object types for which you would like to change the curve.
- When finished, click “OK” to close the pop-up window.
- Click “Add to model” to complete.
Equity
FloodAdapt allows you to evaluate equity-weighted damages and benefits. To prepare the income and population data needed to calculate equity weights, per capita income and population are obtained from the U.S. Census Bureau at the block group scale. Adding this data to your Delft-FIAT model is easy, and described in the steps below:
- Open the Equity tab on the top panel.
- In the bottom panel, specify the year you for which census data will be downloaded.
- Check the checkbox to download Equity data.
- Click “Add to model”
Additional Attributes
FloodAdapt allows users to tailor-define metrics that will be automatically calculated when scenarios are run. An example metric is “number of homes impacted for families with low income brackets”, or “number of homes impacted who live in a FEMA flood zone”. To facilitate the calculation of tailored metrics, additional layers (in these examples, a spatial income layer or a FEMA flood zone map) can be added to your Delft-FIAT model. Any additional layer (e.g. landuse, administrative boundaries) can be added to your model.
To add an additional attribute layer to your model:
- Open the Additional Attributes tab on the top panel.
- Click “Select source” and choose your file.
- Click “Load”. This will load the data columns in your file into the “Attribute ID” drop-down menu.
- From the “Attribute ID” drop-down, select the attribute you wish to add to your model.
- Add a name in the “Label” box. This label will be the column name of your attribute in the Delft-FIAT exposure (and output) data.
- Click “Add”. The layer will appear in the table in the “Overview attribute” table.
- In the bottom of the “Overview attribute” panel, you can check the “Display Attribute” checkbox to verify your data was added correctly.
- You can repeat this process for as many layers as you wish.
- When finished adding layers, click “Add to model”.
Create model
At this point you are ready to create your Delft-FIAT model. Open the Create Model tab on the top panel and verify the data sources in the bottom tab are as expected. If so, click “Create Delft-FIAT model”.
Visualize your model
Once you have created your model, you can visualize different model attributes on the View Model tab. The attributes that can be displayed in the map window are:
- Asset classification (primary or secondary)
- Finished floor height
- Max potential damages (structure or content)
- Ground elevation
- Additional attributes
- Roads
There is also a button “Exposure output”. This opens the full model data, which is also stored as a CSV in the model output folder. This allows you to quickly view the complete dataset without having to look for the file on your computer.
Delft-FIAT model folder structure
Once you have created your model, the model folder you specified when you chose your working directory in the getting started step will be populated with the Delft-FIAT model files. Below you can see what the folder structure looks like for a comprehensive model, saved in a working directory named “Delft-FIAT”. When you create a basic model (without using QuickBuild or any advanced options), the resulting folder structure will contain fewer folders and files. The additional folders and files that appear when using QuickBuild or adding additional attributes to your model are highlighted in the figure below, indicating that the folders (incl. files within) are generated only under those specific conditions.
├───📁 Delft-FIAT/
    |
    ├───📁 exposure/
    │      ├───📁 additional_attributes/ (advanced model)
    │   │    ├─── 📄 base_zone.gpkg
    │   │    ├─── 📄 land_use.gpkg
        │     ├───📁 aggregation_areas/ (quickbuild/advanced model)
    │   │    ├─── 📄 block_groups.gpkg
        │     ├───📁 equity/ (quickbuild/advanced model)
    │   │    ├─── 📄 equity_data.gpkg
    │   ├───📄 buildings.gpkg
    │   ├───📄 exposure.csv
    │   ├───📄 region.gpkg
    │   ├───📄 roads.gpkg
    |
    ├───📁 vulnerability/
    │   ├───📄 vulnerability_curves.csv
    │   ├───📄 vulnerability_identifiers.csv
    |
    ├───📁 hazard/
    │
    ├───📁 output/
    |
    ├───📄 hydromt.log
    ├───📄 settings.toml
    └───📄 spatial_joins.toml (quickbuild/advanced model)