Scenarios
A scenario in FloodAdapt is a what-if situation and consists of a hydro-meteorological event, a climate and/or socio-economic projection, and a strategy. For example, a scenario could be “Hurricane Ian (event) with 1 foot of sea level rise (projection) with a floodwall (strategy)”. This scenario could be compared with “Hurricane Ian with 1 foot of sea level rise with no measures implemented” to see how well a floodwall would prevent flooding and damages for this event under future sea level rise. Once you have defined at least one event, projection, and strategy, you are ready to create a scenario. Users can evaluate both event scenarios and risk scenarios. For a risk scenario, users select an event set instead of a single event; event sets are created as part of system setup.
For an event scenario FloodAdapt calculates the flooding and impacts for one single weather event, such as a hurricane or a king tide with rainfall. The scenario can include future projections and measures, but always represents just one single event. For a risk scenario, in contrast, FloodAdapt calculates flooding for a set of events with different probabilities. From this output, FloodAdapt derives return period flood maps (such as the 10-year, 25-year, or 100-year flood maps) and return period damage maps. It then combines this information to further derive expected annual damages, which is the metric associated with economic risk.
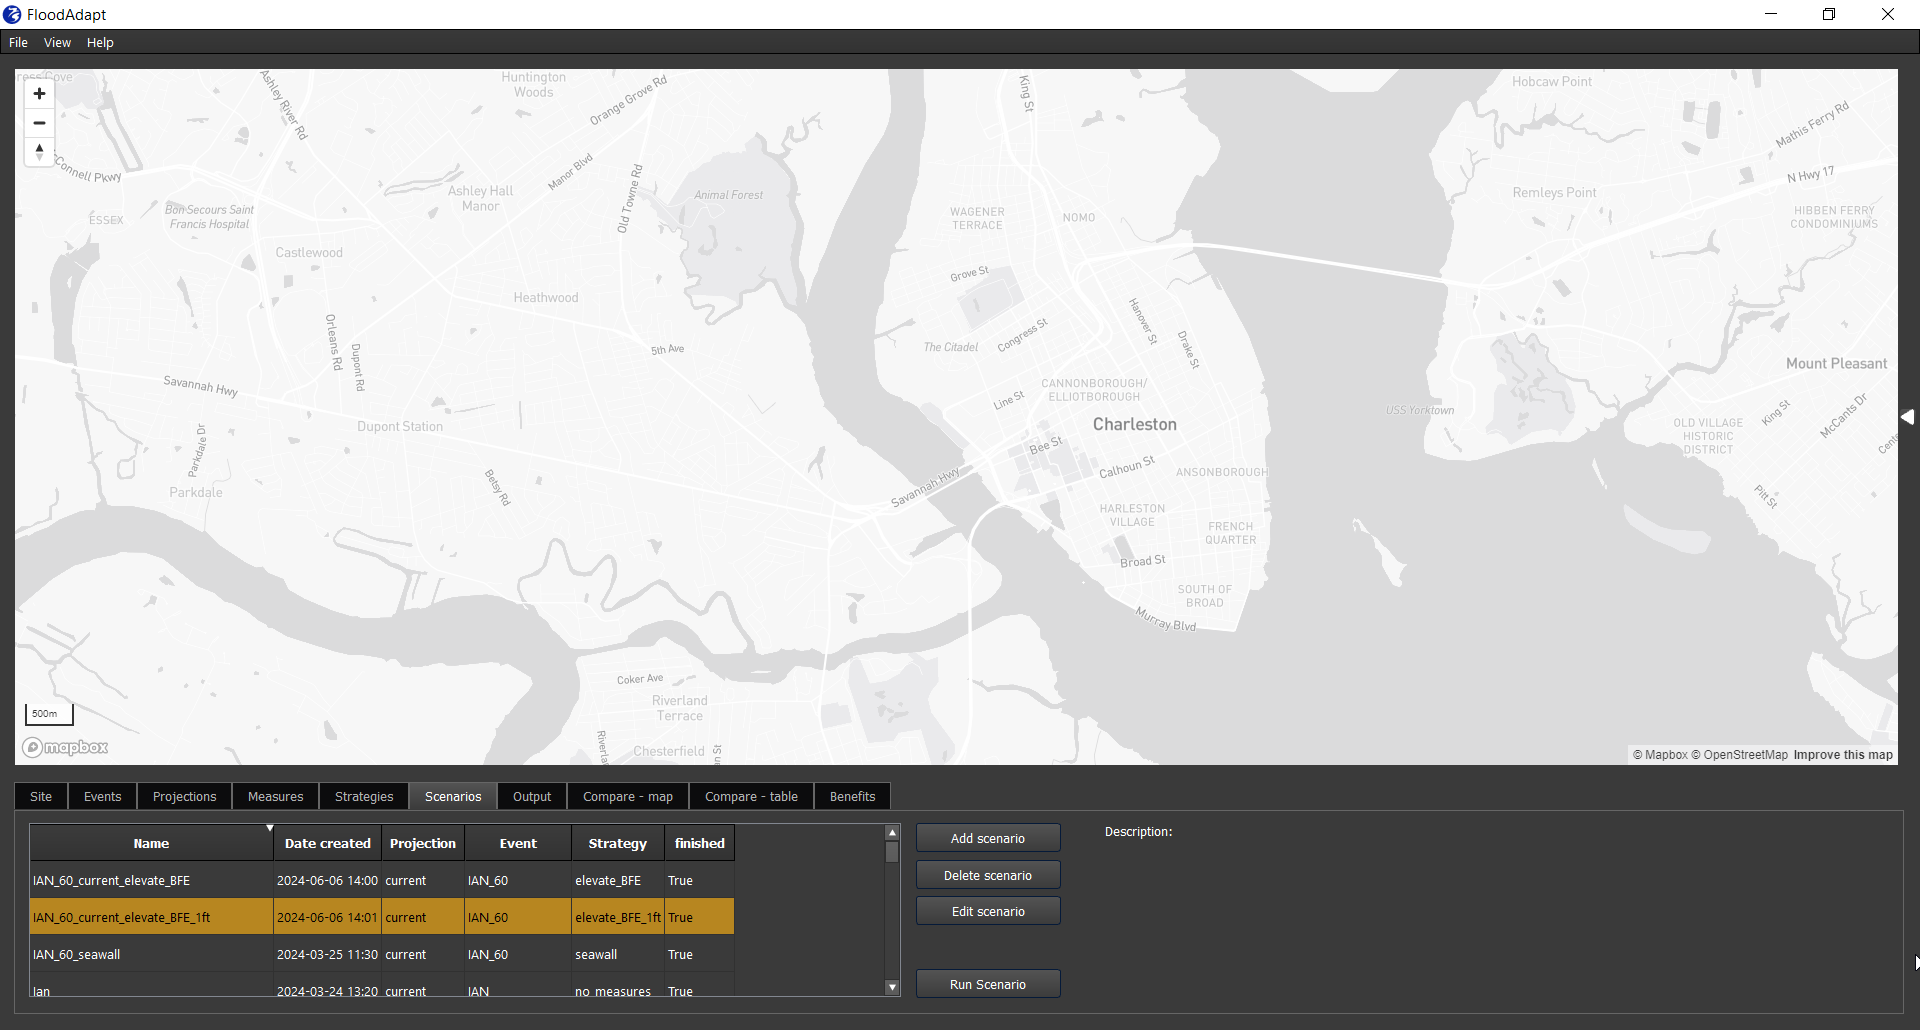
In the “Scenarios” tab (see Figure 1) you will see a tabulated overview of any scenarios that have already been created. You can sort existing scenarios by name, date created, scenario component (event, project, or strategy), or run status (column “finished”) which indicates whether the scenario has been run (True) or not (False). Next to the table there are buttons to add, edit, or delete scenarios. Note that scenarios can only be edited or deleted if they have not yet been run.
To create a new scenario, click “Add scenario” to open the specification window (see Figure 2). In this window there are three panels for each of your scenario ingredients: event, projection, and strategy. Select the desired event, projection, and strategy for your scenario. The scenario name will automatically be generated based on your choice. You can keep that name or overwrite it with your own preferred scenario name (no spaces or special characters); you can also enter an optional description. When you have made your selection and are happy with the scenario name, click “OK” to add the scenario to the scenario window.

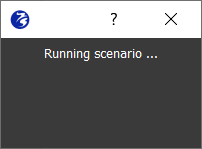
To run a scenario, select the scenario in the table and click the button “Run scenario”. The simulation will start and a pop-up window will appear informing that the scenario is running (see Figure 3). Sometimes the header in the popup window may say “Not Responding” but this can be ignored. The simulation may take several minutes. While the simulation is running you will not be able to work in the FloodAdapt application. When the simulation is finished, the pop-up window will disappear and the run status for your scenario will change from “False” to “True”.
Because scenarios can take several minutes to run, it can be efficient to run many scenarios at once, for example before your lunch break or at the end of the work day. This is also advantageous because the flood model can consume a lot of your computer’s computing power, which may make other applications run more slowly. To run many scenarios at once, simply select all the scenarios you wish to simulate and click “Run scenario”. FloodAdapt will then sequentially run the scenarios until they have all been completed.
Creating an event scenario and a risk scenario follow the same procedure. The only difference is that a risk scenario will select an event set from the event panel instead of a single event. You can identify which ‘events’ are actually ‘event sets’ in the Events tab. These events specify that the type is “Probabilistic Event Set” (see the figure in the description of the probabilistic event set). FloodAdapt recognizes this choice and initiates a risk calculation. Note that risk calculations take much longer because they include the simulation of flooding for every event in the event set. Calculation times for both event scenarios and risk scenarios will depend on the resolution of the underlying flood model, the duration of the event, and the specifications of the user’s computer. In general, event scenarios run on the order of a few minutes.
To view the output of your scenario you can proceed to the Output tab. To compare scenarios you can make use of the Compare - map and Compare - table tabs.
Back to top